Step-by-Step: What Happens During a Dental Implant Procedure

A dental implant procedure happens in clear stages: a consultation and exam, treatment planning with imaging, any preparatory work like extractions or bone grafting, surgical placement of the implant, a healing period while it fuses with the bone, and finally attaching the abutment and crown. From start to finish it often spans several months, mostly because of healing time, but each individual appointment is usually straightforward. Knowing the steps ahead of time makes the whole process far less intimidating.
At West Valley Dental in Tukwila, WA, we place and restore dental implants and walk our patients through every step. Below is a clear, step-by-step look at what actually happens during a dental implant procedure, from your first visit to your finished smile.
Start with the overview, then follow each stage in order.
In This Guide
- The dental implant process overview: The stages at a glance.
- The steps at a glance: Each stage and its timing.
- Step 1: Consultation and exam: Where it begins.
- Step 2: Treatment planning and imaging: Mapping it out.
- Step 3: Preparatory work if needed: Extractions and grafting.
- Step 4: Implant placement: The surgery itself.
- Step 5: Healing and the final crown: Finishing the smile.
- Frequently asked questions: Quick answers to common questions.

The Dental Implant Process Overview
Before the details, it helps to see the whole journey at once. A dental implant is not a single appointment but a series of steps spread over time, each building toward a lasting result.
Why It Takes Several Steps
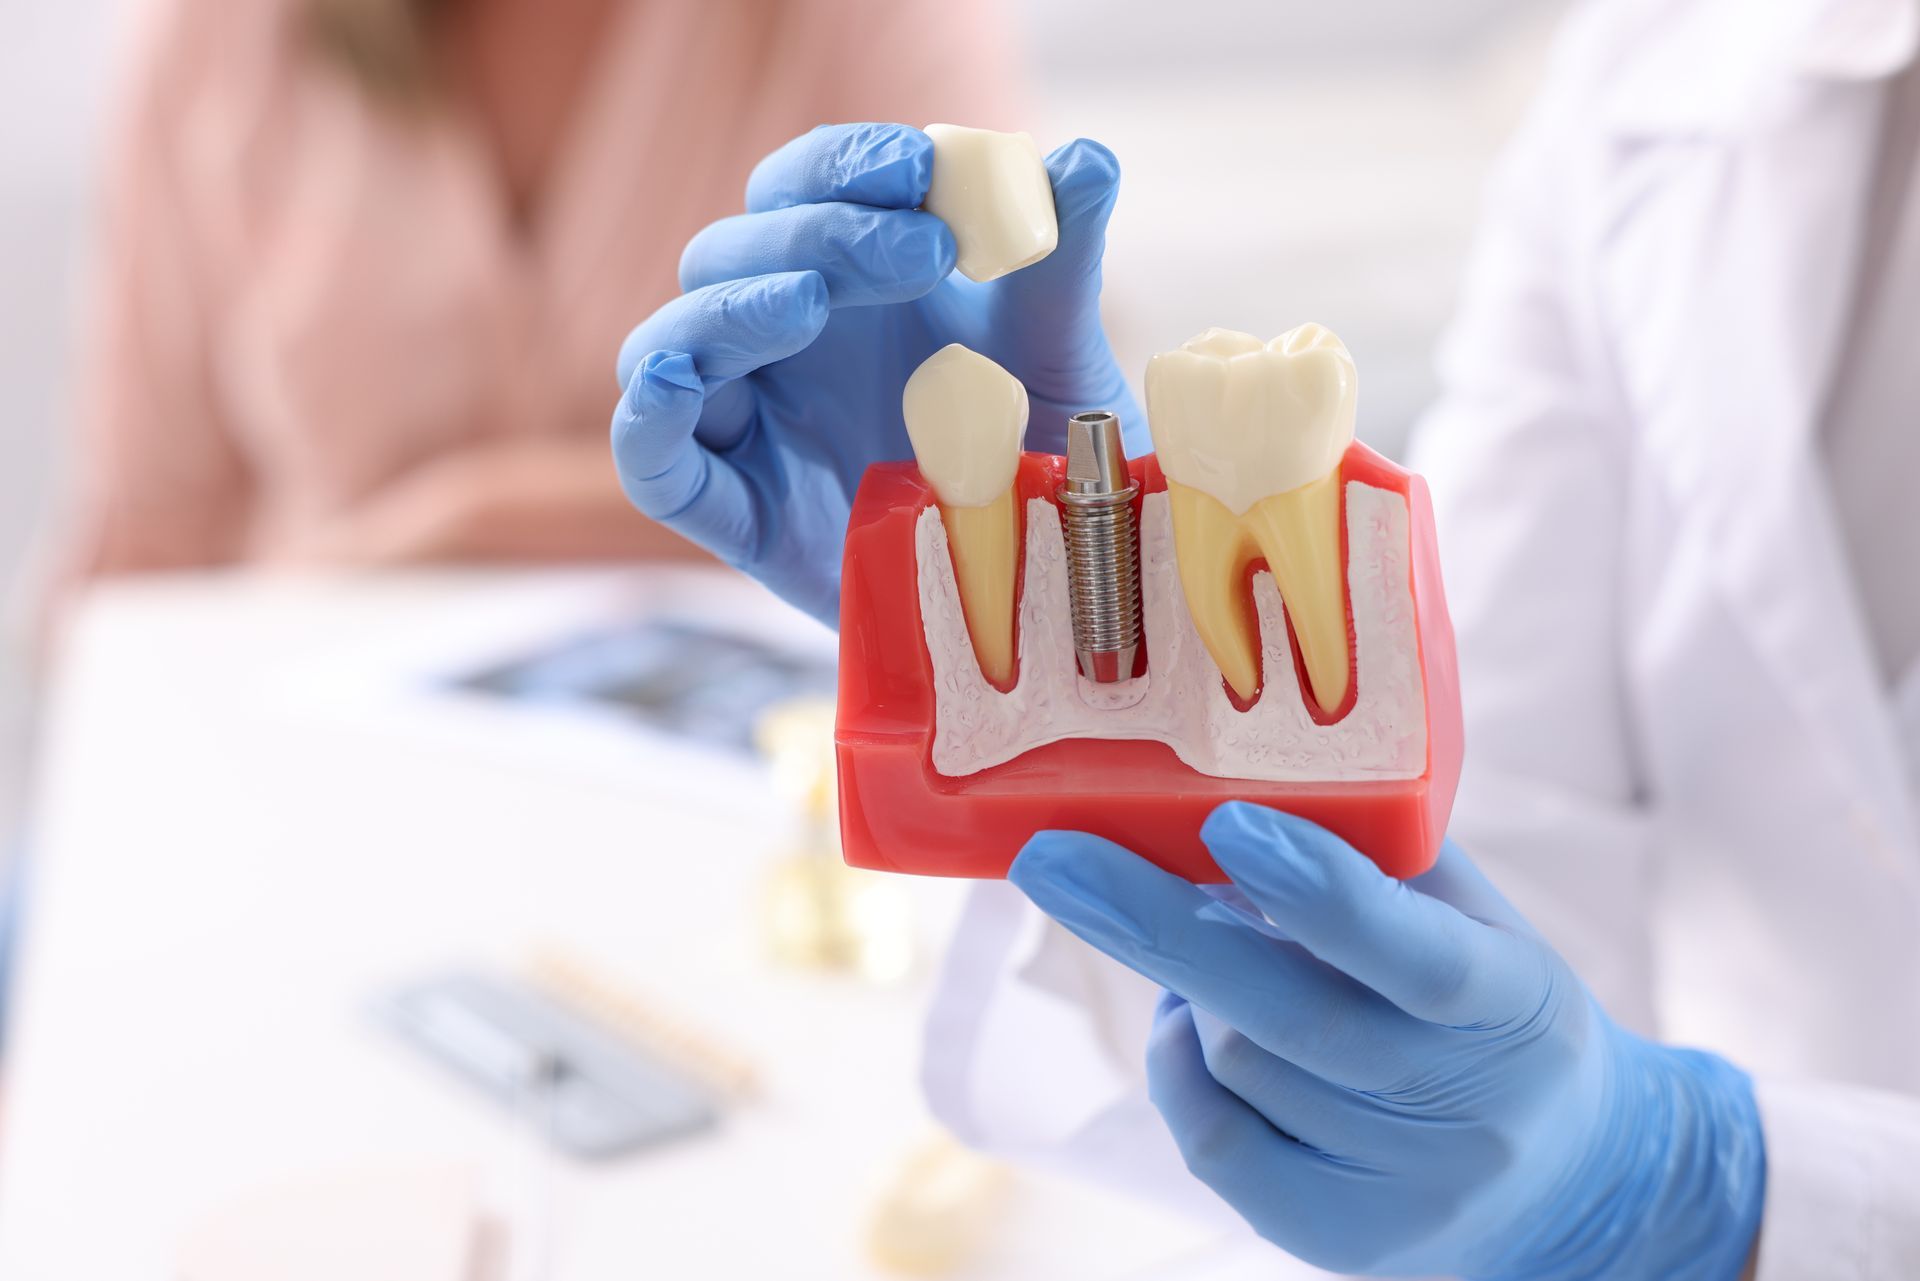
An implant replaces both the root and the crown of a missing tooth, and the root portion has to fuse with your jawbone before it can support a tooth. That fusing, called osseointegration, takes time and is what stretches the timeline.
The result is worth the wait: a replacement that looks, feels, and functions like a natural tooth. Understanding that most of the time is healing, not active treatment, makes the process feel much more manageable.
It also helps to know the steps are sequential for a reason. Each one sets up the next, from confirming candidacy to building a solid foundation to letting the implant fuse, so the staged approach is what makes the final result so durable and reliable.
The Stages at a Glance
The typical implant journey follows these stages in order, though your exact path depends on your needs and the condition of your jaw.
- Consultation and exam to assess your candidacy for implants.
- Treatment planning with 3D imaging.
- Preparatory work like extractions or grafting, done only if needed.
- Implant placement surgery.
- Healing while the implant fuses with the bone.
- Abutment and crown to complete the tooth.
The Steps at a Glance
This table sums up each stage, what happens, and roughly how long it takes.
| Step | What Happens | Rough Timing |
|---|---|---|
| Consultation and exam | Assess candidacy, discuss goals | One visit |
| Planning and imaging | 3D scan, custom plan | One visit |
| Preparatory work | Extractions or grafting if needed | Varies, adds months |
| Implant placement | Titanium post placed in jaw | One short surgery |
| Healing | Implant fuses with bone | Several months |
| Abutment and crown | Final tooth attached | One or two visits |
Most of the timeline is passive healing, not appointments, which is why the process feels much lighter day to day than the overall span suggests.
Step 1: Consultation and Exam
Every implant starts with a thorough consultation. This is where your dentist determines whether implants are right for you and begins planning the path forward.
What Happens at the Consultation
Your dentist examines your teeth, gums, and mouth, reviews your medical and dental history, and discusses your goals for the tooth. This is the time to ask questions and understand your options fully.
The goal is to confirm you are a good candidate and to identify anything that needs addressing first. If you want to know whether the investment fits your situation, our guide on whether dental implants are worth it is a helpful read.
This first visit is also about you getting comfortable with the plan, not just the dentist gathering information. It is the best time to raise any concerns, from cost to anxiety to how long you will be without a tooth, so the plan is built around your real priorities from the start.
Assessing Your Candidacy
Good candidates generally have healthy gums and enough jawbone to support an implant, though preparatory treatments can address gaps in either one. Your overall health and habits, like smoking, are also taken into account.
If implants are not the immediate best fit, your dentist will explain why and what can be done. Most people are candidates, sometimes after a preparatory step or two.
Age itself is rarely a barrier, and even patients who have been told elsewhere that they lack the bone for implants can often proceed after grafting. The consultation is where these possibilities are sorted out, so it is worth having even if you are unsure whether you qualify.
Step 2: Treatment Planning and Imaging
Once you are moving forward, precise planning is what sets up a successful implant. This stage is all about mapping the details before any surgery takes place.
3D Imaging and Mapping
Your dentist takes detailed images, often a 3D CT scan, to see your jawbone, nerves, and sinuses. This lets them plan the exact position, angle, and depth of the implant.
This planning is a big part of why modern implants are so reliable. It allows the dentist to place the implant precisely and avoid important structures, all mapped out before the procedure.
The imaging also removes much of the guesswork on the day of surgery. Because the position, angle, and depth are decided in advance from your actual anatomy, the placement itself is faster and more predictable, which is one reason patients often find the surgery easier than they feared.
Building Your Custom Plan
From the imaging, your dentist creates a personalized treatment plan, including whether any preparatory work is needed and the expected timeline. They will walk you through it so you know what to expect.
This is also when costs and options are usually discussed in detail. Our overview of dental implant costs in Tukwila can help you understand what goes into the investment.
The plan also spells out the sequence and timing specific to you, so you leave knowing roughly how many visits to expect and how long each phase will take. Having that roadmap up front is what makes the months-long timeline feel organized rather than open-ended.
Step 3: Preparatory Work if Needed
Not everyone needs this step, but for some patients a little groundwork sets up a stronger, longer-lasting result. It happens before or sometimes alongside placement.
Extractions
If a damaged or failing tooth is still in the spot where the implant will go, it needs to be removed first. In some cases the extraction and implant placement can happen in the same visit, which your dentist will determine.
After an extraction, some healing may be needed before the implant goes in, depending on your situation. Your dentist will advise on the right timing.
In certain cases, placing an implant immediately into a fresh extraction site is possible, which reduces the number of procedures. Whether that suits you depends on the health of the surrounding bone and gum, something your dentist evaluates during planning.
Bone Grafting
If your jawbone lacks the volume to support an implant, a bone graft rebuilds it. This is common when a tooth has been missing for a while, since the bone shrinks over time without a tooth root to stimulate it.
A graft adds several months of healing to the timeline before placement, but it creates the solid foundation an implant needs. Not everyone requires grafting, and your imaging will show whether you do.
In some cases a smaller graft can be done at the same time as the implant placement rather than as a separate step, which can save time. Whether that is possible depends on how much bone is needed, and your dentist will determine the best sequence from your scan.
Step 4: Implant Placement
This is the surgical step where the implant is placed into your jawbone. It is more routine and comfortable than most people expect, thanks to careful planning and anesthesia.
The Placement Procedure
The implant, a small titanium post, is placed into the jawbone in the exact position mapped during planning. It is done under local anesthesia, and sedation options are available if you feel anxious, which we cover in our sedation dentistry services.
Most patients are surprised by how manageable it is. The procedure itself is usually quicker than expected, and you will not feel pain during it thanks to the anesthesia.
The dentist opens a small area of the gum, places the implant into the prepared site in the bone, and closes the gum around or over it. Because everything was mapped in the planning stage, this step follows the plan closely, which keeps it efficient and predictable.
Right After Placement
Following placement, some mild soreness, swelling, or bruising is normal for a few days and is easily managed with standard care. Most people return to their routine activities quickly.
Your dentist gives you aftercare instructions to protect the site while it begins to heal. A temporary tooth or covering may be placed depending on the location and your plan.
Aftercare is usually simple: eat soft foods for a short period, keep the area clean as directed, and avoid disturbing the site. Most patients manage any discomfort with over-the-counter pain relief and are back to their normal routine within a day or two.
Step 5: Healing and the Final Crown
The final stage combines the longest wait with the most rewarding finish. This is where your implant becomes a fully functioning tooth you can use like any other.
Osseointegration
Over the following months, the implant gradually fuses with your jawbone in the process called osseointegration. This is what gives the implant its strength and stability, and it is a biological process that cannot be rushed.
Healing time varies by person and location, often several months. During this time the implant quietly becomes a permanent part of your jaw, and you carry on with normal life.
This is the stage that rewards patience. Rushing to load the implant before it has fully fused risks the whole result, so the wait is not padding, it is the biological process that gives the implant the strength of a natural tooth root. Your dentist confirms it has integrated before moving to the crown.
Abutment and Crown
Once the implant has fully fused, an abutment, the small connector piece, is attached, and impressions are taken for your custom crown. The crown is made to match your natural teeth in shape and color.
At the final visit, the crown is secured, completing your new tooth. The result functions like a natural tooth and, with good care, can last many years, as we cover in our guide on how long dental implants last.
Because the crown is custom-made from impressions of your mouth, it is shaped and shaded to blend in with your surrounding teeth. Most people cannot tell the finished implant apart from their natural teeth, and it is cared for the same way, with regular brushing, flossing, and checkups.
Your Path to a Complete Smile
A dental implant procedure moves through clear, well-defined stages: consultation, planning, any preparatory work, placement, healing, and the final crown. While the full process often spans several months, most of that is healing rather than active treatment, and each appointment is more straightforward than patients expect. The payoff is a replacement tooth that looks and works like a natural one.
At West Valley Dental in Tukwila, we guide our patients through every step and make the process comfortable from consultation to crown. If you are considering dental implants, reach out to our team for a consultation. We will assess your smile and walk you through exactly what your plan would involve, including the timeline and cost, so you can decide with confidence.

Frequently Asked Questions
How long does the whole dental implant process take?
From consultation to final crown, the process often spans several months, largely because the implant needs time to fuse with the jawbone before it can support a crown. If preparatory work like bone grafting is needed, it can take longer. Each individual appointment, though, is usually short and straightforward.
Is getting a dental implant painful?
The placement is done under local anesthesia, so you should not feel pain during the procedure, and sedation is available if you are anxious. Afterward, mild soreness or swelling for a few days is normal and easily managed with standard over-the-counter care. Most patients find it far more comfortable than expected.
How many appointments does a dental implant require?
It varies, but a typical implant involves a consultation, a planning visit, the placement surgery, and a final visit to attach the crown, plus any preparatory appointments. The biggest gap is the healing period between placement and the crown, rather than a large number of separate appointments.
Do I need a bone graft for a dental implant?
Not everyone does. A bone graft is needed only when the jawbone lacks the volume to support the implant, which is more common after a tooth has been missing for a while. Your 3D imaging during the planning stage shows clearly whether grafting is necessary for your case.
What happens after the implant is placed?
After placement, the implant needs several months to fuse with the jawbone through osseointegration. Once it has fully fused, an abutment and a custom crown are attached to complete the tooth. Mild soreness right after placement is normal and typically resolves within a few days.